This article will introduce you to the basic concepts of PodSpace. It is made for the "impatient" so it gives only a basic overview but external links are provided for in-depth information.
The overall architecture of PodSpace is based on Kubernetes. The underlying principle of Kubernetes is that you describe your application environment in a declarative fashion, by defining various resources (also refered to as objects). These resources are your building blocks, you use them to specify what should go on within your application environment.
There are many types of these resources, each having a specific function. For example, Pod objects are running containers, Service objects are a kind of load balancers in front of Pods, etc. Throughout this document, we will mark object types with bold keywords.
|
Sections with this light bulb symbol will appear throughout the article. They are describing in depth features. If you are in a hurry feel free to skip them. |
About Pods
Maybe you’ve heard about containers which is a technology that has been around for some time now, but it had just gained big popularity since Docker, a container management system appeared on the open-source scene.
Containers are not just a hippy thing, but are really practical since they allow applications to isolate their dependencies and processes. They run in the limitation of their designated resources, even though they are working on the same machine, features that are reproduceable but hardly, while using virtual machines.
Within PodSpace, you don’t manage and run containers directly. We have another layer of abstraction on top of containers, called Pods. Actually a Pod is a type of a Kubernetes resource, which is used to define a running container. In PodSpace, a Pod is the smallest unit of containers that are defined, deployed and managed together.
For those of you who like to have a more formal approach in understanding things - a Pod is a group of one or more Docker containers which share some of their namespaces like the network stack (IP address, network interfaces, etc.), volume mounts, and IPC context (semaphores, shared memory).
| Most of the time, you don’t have to (and should not) put multiple containers inside a Pod, but nevertheless it is a possibility, which might come handy in some rare occasions. For example, if you have two Docker images with two applications, which for some reasons can only communicate with each other over localhost, or over shared memory: You can put these two containers in a single Pod, and so they will be able to talk to each other. |
Refer to the Overview of the Pod Concept in the Kubernetes documentation for more details.
Deploying applications in Pods
Pods, as all other types of resources in PodSpace are defined by a simple object description in YAML or JSON format. Thus, Pods can be defined manually one-by-one, however they do not come with a useful set of management functionality: when you create a Pod, an instance of your application is started from a specific Docker image. When that Pod gets deleted, the containers are stopped. There is no way to scale your app to multiple instances, or to manage version rollouts when a new image is created. It’s way too simple.
Fortunately, PodSpace provides various high-level tools to automate every aspect of the application deployment.
The main concept is the DeploymentConfig. It creates multiple replicas of the same Pod definition, and handles the version rollout process, which is very nifty: if you want, you can set it up to automatically roll out new versions of Docker images, without any downtime, by stopping old Pods and creating new Pods one-by-one.
Some of the main features of DeploymentConfigs are:
-
triggers for deploying your application in case of certain events, for example: when a new image is done in case of an update
-
transition strategies for handling the deployment process. The default strategy is "rolling" by which PodSpace does a rolling upgrade process automatically or you may choose the "recreate" option where all the containers are stopped before starting a new version.
Communicating with Pods
DeploymentConfig’s can create multiple copies of the same Pod the user has defined. This is called scaling. A group of Pods running the same containers are called replicas.
Services do load balancing to your scaled Pods in such a way that traffic, hence CPU and memory too, are distributed as well as possible.
Services, (just like Pods by the way), have their own internal IP, making a proxy connection to the group of Pods it serves.
They also provide a means for Service Discovery inside PodSpace: if you have a multi-tier application, or a microServices architecture where you have many cooperating components, you have to have a means for these components to discover each other in the network. By simply defining Services in front of your Pods, your application components will be able to resolve other components Services by hostnames in the DNS, or by reading the Service endpoints locations from environment variables.
See our Networking FAQ for more information about service discovery and networking in general. Also, refer to the Kubernetes Services Guide for in-depth information about services.
Publishing applications
As we have mentioned before, Pods and Services have their own internal IP, meaning they are reachable only for applications running inside PodSpace.
Thus, there should be a way to access them from the outside world too right. But how?
By creating Routes for your Service! Routes expose a service so that it is externally accessible by a hostname. When you are creating Routes, you must specify a hostname for your application to be reached on.
This might be any hostname ending with pspc.ws (which is free to use in PodSpace), or might be any other domain name that you own.
Routes can handle SSL termination for you, so you can have your application be reached via HTTPS, while not having to bother a lot with setting up SSL.
Even cooler is one of our favourite features: A/B testing. It means that you can deploy two different versions of your application at the same time, and set up a Route at let’s say, www.your-app.com so that 90% of the users go to version A, and 10% of the users go to version B. And then gradually you can increase the percentage of version B, day-by-day, without your users noticing anything at all, eventually ending up with all users using version B.
From your perspective this is all automatic. All the heavy lifting is done by PodSpace in the background. How cool is that?
Building Docker Images
So, you want to use containers, but you don’t want to endure the pain of migrating all your applications to Docker? Don’t worry, it’s easy! With PodSpace, you can build Docker images directly out of source code.
On the other hand, if you have already migrated to Docker, and already have a set of images, you can still have them built inside PodSpace and take advantage of various integrated and automated features to create a full-blown automated application delivery pipeline.
That said, the two basic types of image builds in PodSpace are:
-
Docker based. Meaning that the image is built by reading the instructions of a Dockerfile.
-
Source based. The Source to Image (S2I) build method is more user friendly since you don’t need any knowledge about Docker at all. We have a large selection of readily available builder images that can build applications written in a specific language and package it to run in a specific runtime, for eg: Java on Wildfly, PHP on Apache, Ruby on Rails, etc.
The S2I method is very convenient, and also highly flexible: if the available builder images don’t fit you well, you can customize them to your liking, or you can also create a new one from scratch.
So, where is the awesomeness? Let’s consider this pipeline:
- Build stage
-
-
Someone pushes changes to your GIT repository.
-
PodSpace builds a new version of your application in Docker.
-
- Test stage
-
-
This image gets deployed in a test environment inside PodSpace.
-
Automatic tests are run against the newly deployed image in the test environment inside PodSpace.
-
- Production stage
-
-
Upon successful tests, the new version gets deployed automatically in production - without any disruption, but to only 10% of the users.
-
After one week, 50% of the users get to use the new version. After two weeks have passed, everyone uses the new version.
-
Of course, this is just an example process, it is fully up to you: you decide the specific steps and also you decide which is automated and which is not. And all of this is so easy that a caveman could do it!
Projects and Templates
Projects are the tool for organizing our application environments. The idea is that you should have a project for each environment of a given application. So for example, if you have an app called Hello, and you want a separate development playground for your developer Bob, and also one for Jenna, then you should create two projects: hello-bob and hello-jenna.
|
And things get really amazing here: for all this to be as simple as possible, you create a Template describing all your application’s components (like DeploymentConfigs, BuildConfigs, Services, Routes, etc.). Using this template, you can create projects which contain complex environments in matter of seconds. You can also put parameters in templates, so for example, you can make Bob’s builds to run from Bob’s branch, and Jenna’s builds to run from Jenna’s branch, etc. |
And then of course you should have separate projects for your integration test environment and production environment too. With all this set up, you can build an automated or semi-automated pipeline which "moves" your application from one environment to the other. Cool? It’s easy!
Administration and management
In PodSpace, we have 2 ways of interaction with the system. One with the CLI and the other by using the web interface.
We will show you both of these methods in parallel. Now, before you do anything related to your projects and applications, you have to log in. You can do that by typing:
| You can download the CLI from the documentations page. |
[user ~]$ psc login
where the CLI will ask for your username and password.
To login to the web console, click on the Sign In button on the upper right corner of this page.
Now that you have logged in, lets play a bit. You may create a project with:
[user ~]$ psc new-project <project_name>
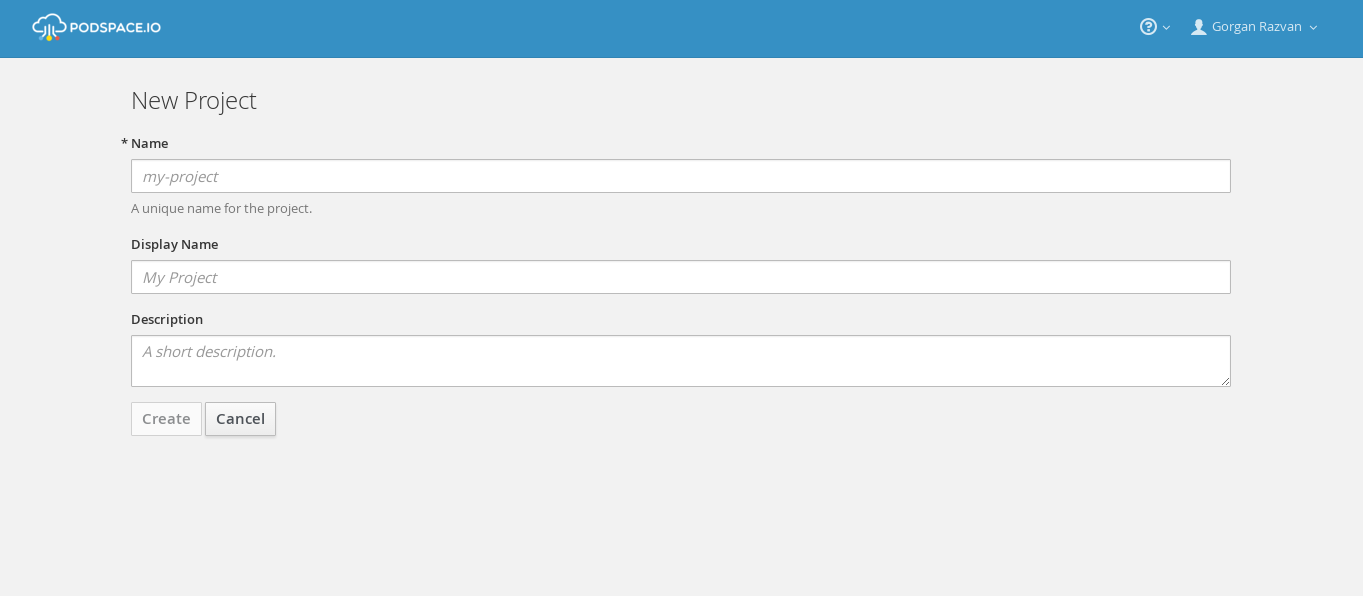
or by clicking New Project in the welcoming page and completing these boxes:
To list the Pods of the applications' running inside the current project:
[user ~]$ psc get pods
or by navigating to the Pods section in the left bar.
Conclusion
Things may seem a bit complicated at first sight but documentations and video tutorials are provided for each PodSpace feature. Also, don’t forget to check out the FAQ.
Or, for basics, use the Web Console which is a simpler way of managing your projects and applications.