This article explains the basic concepts of Docker containers, which are often used in PodSpace. For sake of this tutorial, we will be using two complementary deployments: a Wordpress container along with a MySQL database.
|
Sections with this light bulb symbol will appear throughout the article. They are describing in depth features. If you are in a hurry feel free to skip them. |
Creating a project
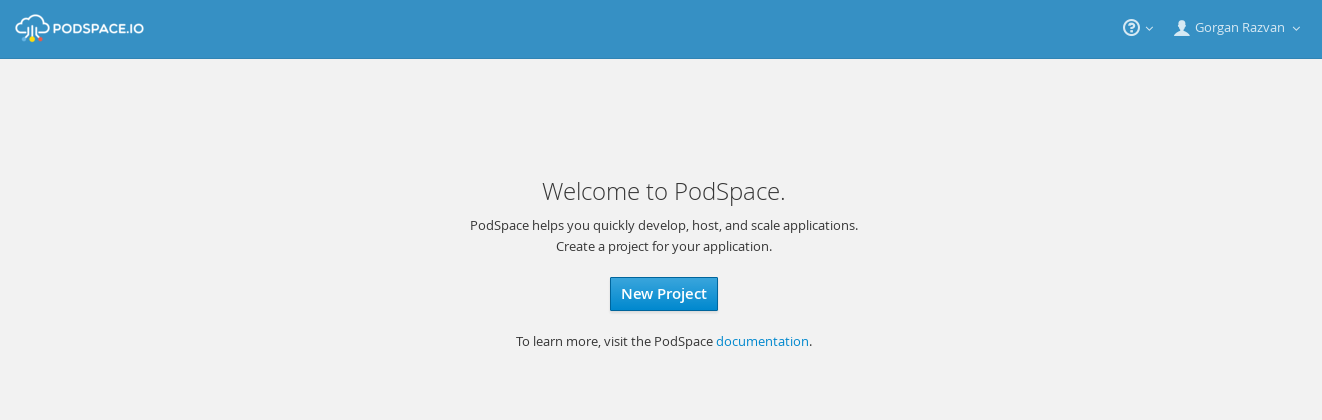
The PodSpace web console makes most of the features highly accessible. Sign in here or click on "Sign In" on the upper right hand corner of this page.
First you have to create a project for your application. That’s easily done in the first screen which appears after you sign in. Click New Project.
Only the Name field is mandatory but often it is useful to fill the Description with information you want to share with your team.
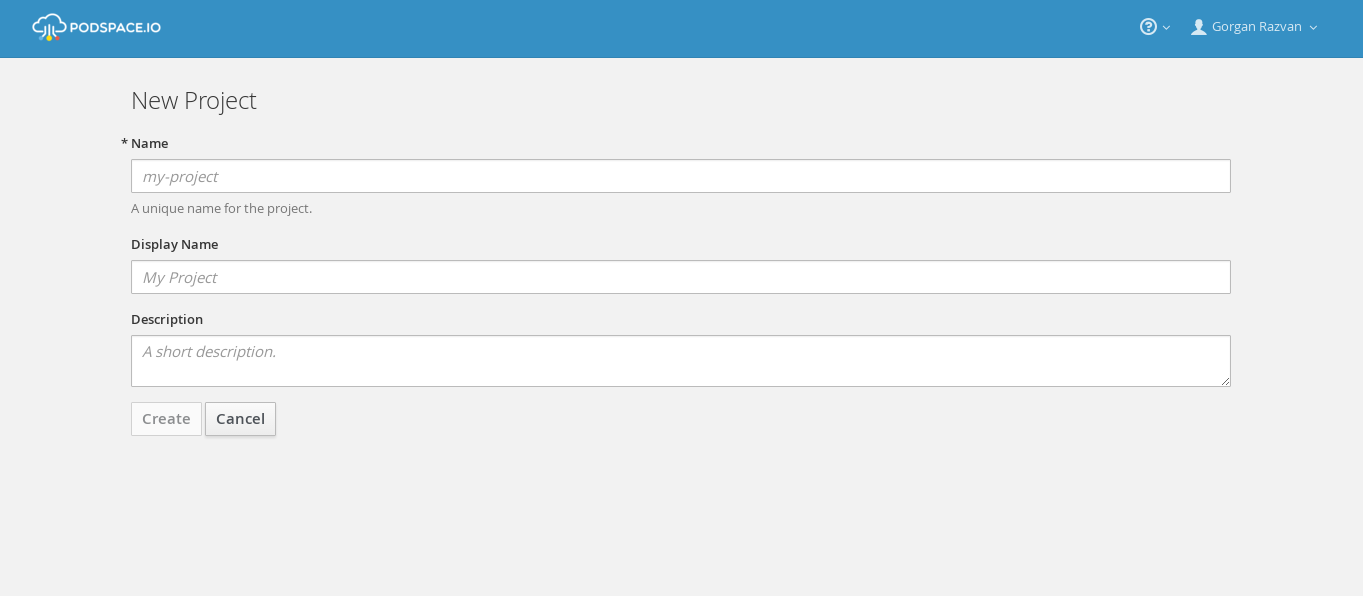
And click on Create. That’s it, now your project is ready, let’s start adding applications to it.
Deploying containers
Now that you have created your first project, which will serve as an isolated environment for your application, let’s get our hands dirty. Our objective is to deploy an application which will run in two Docker containers: one for Wordpress and one for the MySQL database.
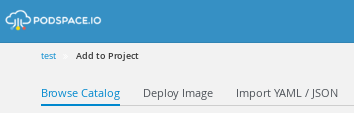
After creating a project, you are redirected to the Add to project page, where you are presented with three options. You can:
-
deploy an application from the PodSpace Catalog
-
deploy a specific image from the public Docker Hub
-
create advanced deployments specified using resource definitions (but we will keep things simple for now)
|
Resource definitions? In PodSpace, you deploy applications in a project by declaring a number of resources which describe your application environment. These resources are defined using YAML or JSON definitions. There are many kinds of resources (also called Objects), each describing a specific aspect of your application environment. For example, you declare a Service to create an internal load balancer, a DeploymentConfig to create a replicated set of containers and so on. Most of the time, the web console will create and configure all these resources automatically, but for more advanced configurations, you have the possibility to customize them. This is done by writing YAML/JSON configuration files that describe the attributes and parameteres of the objects. Refer to the Kubernetes Objects documentation for more information. |
Pods
In PodSpace you don’t manage and run containers directly. We have a concept of a Pod which is actually a light-weight case for containers. Most of the time, you can think of pods as being the same as a container: instead of starting a container, you create a pod. Instead of stopping a container, you delete a pod.
Deploying MySQL
A MySQL image already exists in the PodSpace catalog, so it will be really simple to deploy. Click Browse Catalog in the upper menu bar, and type mysql-persistent in the search bar.
|
Why persistent? If you are familiar with Docker containers, you know that their filesystem is ephemeral in nature: every modification a container makes on it underlying filesystem only lasts until the container is stopped or restarted. In order to give persistent storage to a Pod, you may associate storage units called Persistent Volumes to Pods. If Pod with a persistent volume is restarted or deleted, the information in these units is preserved (and the database information is saved in our case). For the mysql-persistent template, the Persistent Volume is mounted under the Pods Filesystem /var/lib/mysql directory. Everything outside of it will be lost in case of restart or deletion of the Pod. |
Once you found the image, click it and you should get a form like this one:
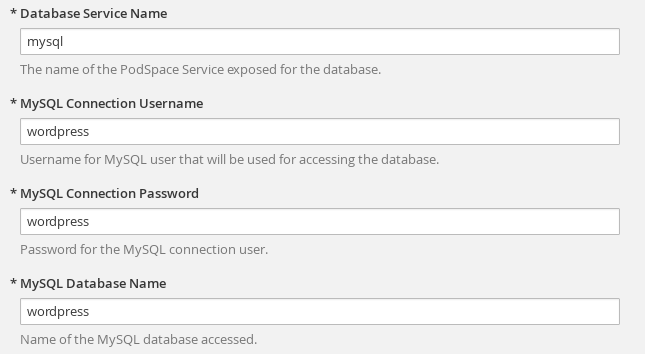
The parameters we want to tweak are Service Name, Username, Password, Database name .
You can choose any values you want but don’t forget, you have to match them with the ones we will use when deploying the Wordpress image. For the sake of simplicity, use the same values you can see in the image above.
Once you have filled all four text fields, click Create .
Right now, PodSpace starts the deployment of the image. But we are not finished yet.
Deploying WordPress
For the Wordpress deployment, we will use the official Wordpress image from Docker Hub. Click Deploy Image in the upper horizontal menu bar.
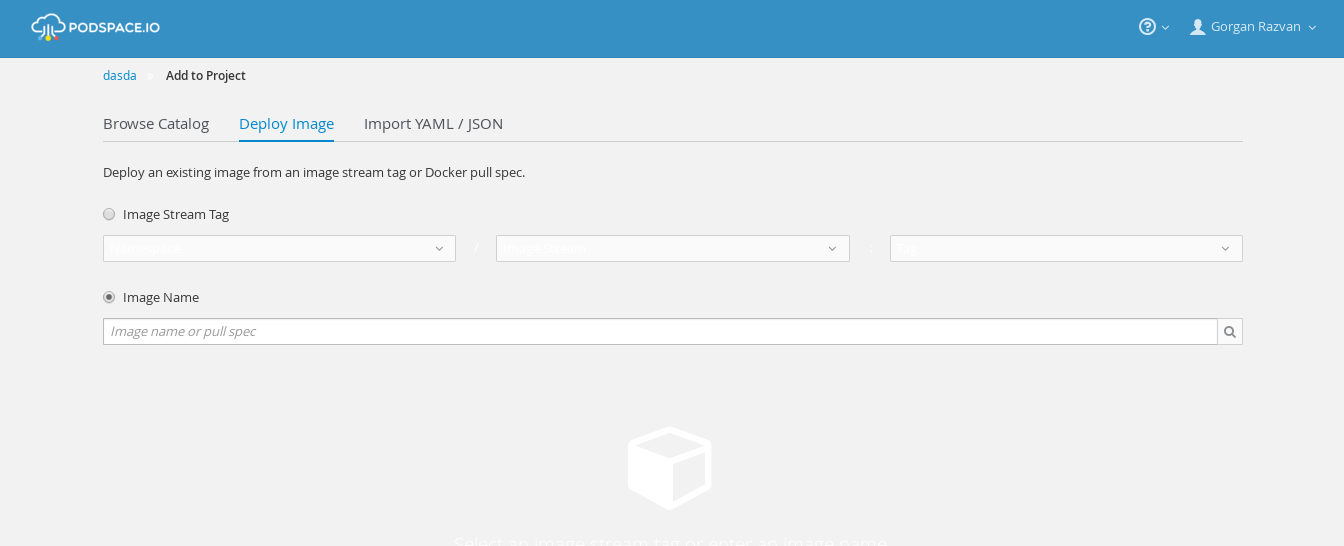
Just click Image Name and type wordpress in the text field. Give PodSpace a moment to search for a matching image name.
|
In our case, this search will return the official Docker image of Wordpress. The image is the same one as if you would do a docker pull wordpress command, which in turn will use the docker.io/library/wordpress:latest image. |
Once it found a matching image, you should see the following form:
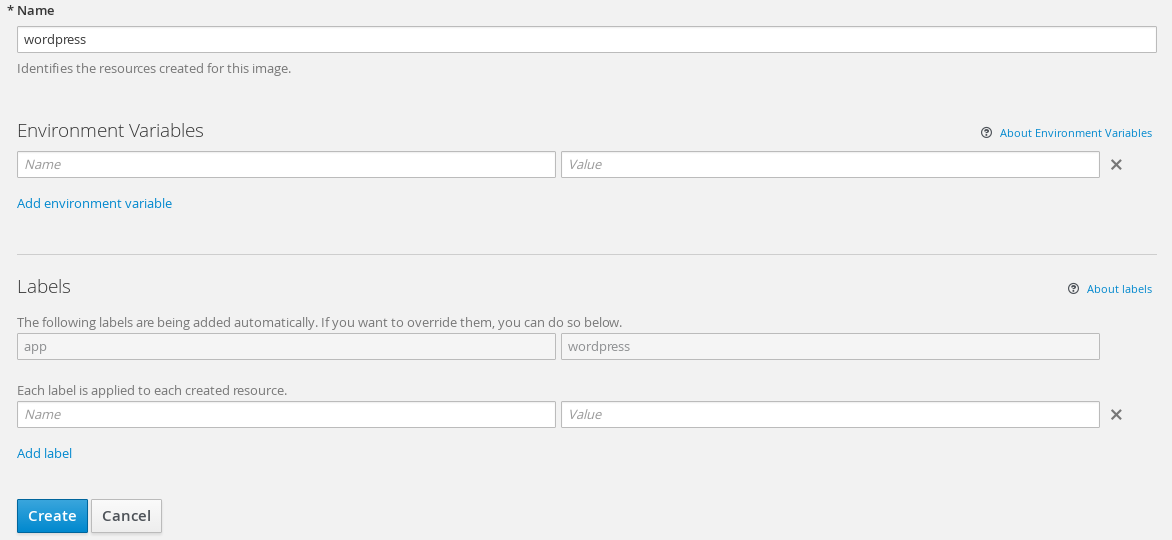
Now we have to set values for some of the environment variables to make Wordpress use the database we have just deployed in the previous step.
Enter the following values (add more variables by clicking Add environment variable):
Environment variable |
Value |
WORDPRESS_DB_HOST |
mysql:3306 |
WORDPRESS_DB_USER |
wordpress |
WORDPRESS_DB_PASSWORD |
wordpress |
WORDPRESS_DB_NAME |
wordpress |
| The Official Wordpress Docker Image page on Docker Hub has details on exactly what environment variables does the Wordpress image support. |
Verifying the deployment
If you’ve deployed your Pods, depending on the application image size, the deploy time may vary. Usually it is less than three minutes. You can see your deployed Pods by clicking in the main web console page Applications → Pods, in the left navigation bar.
After the deployment Pod starts, it will orchestrate the deployment process and create the Pods running the actual application.
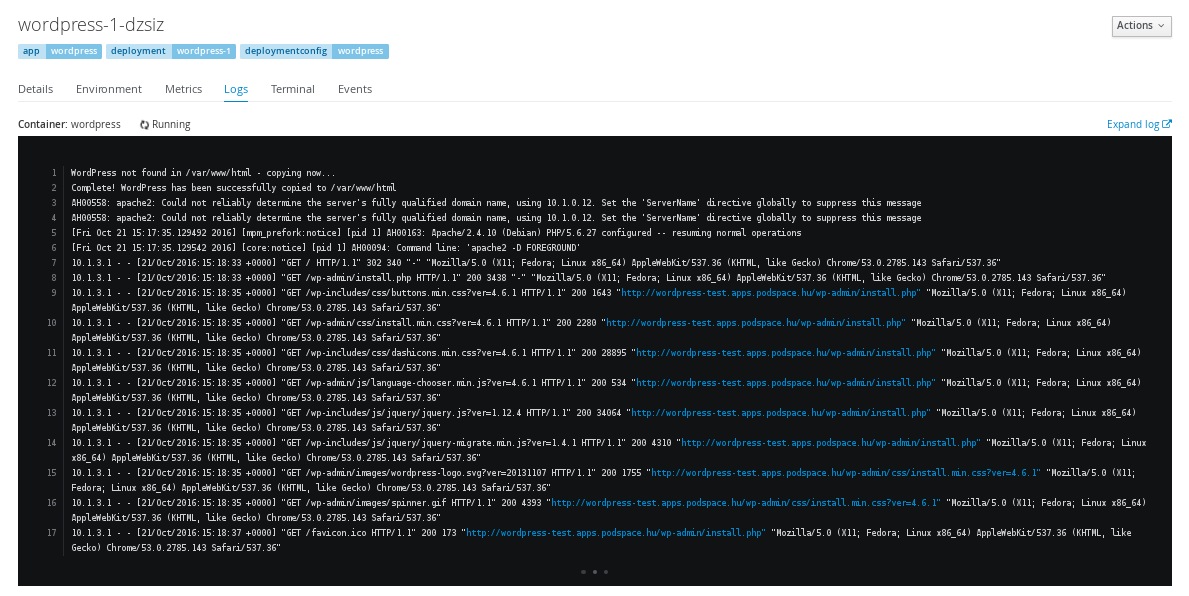
If anything goes wrong, the first thing you should do is to check the container logs under the Logs tab of the Pod overview page. Access it by clicking one of the Pods, then Logs in the upper horizontal menu.
Publishing your application
At this point, your application is deployed and is ready to serve requests. But it’s not possible to access it from the outside yet. First you have to assign an external hostname for your application. To do this, you have to create a Route.
Routes can be easily created from the web console by clicking in the left vertical menu on Applications → Routes.
Click on the Create Route button in the upper right corner. Now, you should see something like this:
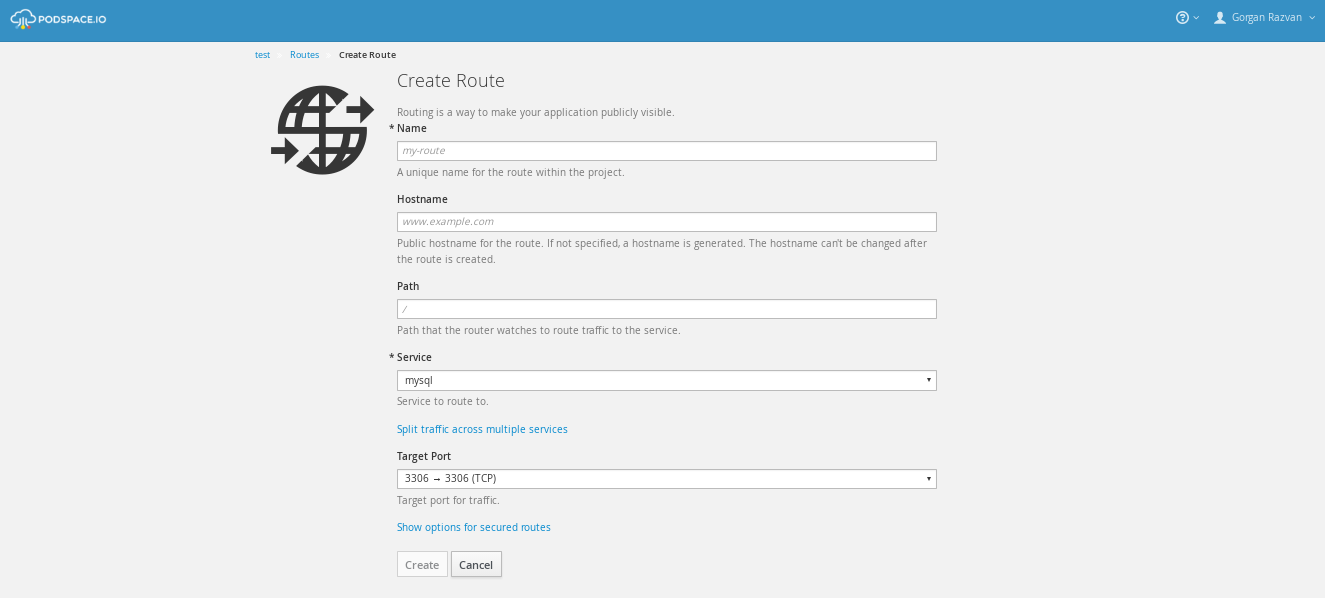
First, you have to choose the Service (more about Services) used by your application, in the drop down list labeled with Service.
Name your Route so you can identify it easier in the future, assign a specific hostname (an automatic one is generated if you don’t fill it) and … basicaly that’s it. You’re on a roll!
Using the CLI
Everything that you just did using the web console can be also achieved by using the CLI (command line interface). Moreover, there are more advanced commands that can be executed only from the CLI.
In this section, we will present the steps we have covered for web console, this time using the CLI.
By typing this command you will be prompted to enter your e-mail and password.
[user ~]$ psc login
Go on by creating a project.
[user ~]$ psc new-project <project_name>
First, we need to deploy the MySQL Pod. In addition we need to provide the environment variables.
[user ~]$ psc new-app mysql MYSQL_DB_USER=wordpress MYSQL_DB_PASSWORD=wordpress MYSQL_DATABASE=wordpress
We do the same thing for the Wordpress Pod but with slightly different environment variables.
[user ~]$ psc new-app wordpress WORDPRESS_DB_USER=wordpress WORDPRESS_DB_PASSWORD=wordpress WORDPRESS_DB_HOST=mysql:3305 WORDPRESS_DB_NAME=wordpress
If you want to see the status of the deployment, first, get the names of your Pods:
[user ~]$ psc get Pods
Use that name to view it’s evolution in real time.
[user ~]$ psc logs <Pod_name>
To expose your applications Service, type.
[user ~]$ psc expose svc/wordpress
Conclusion
You have learned how to deploy a Wordpress application from Docker Hub and link it with a MySQL database you have deployed from the PodSpace catalog.